
Rerooting is the process of replacing a doll's original hair with completely new hair, inserted into the scalp one tiny section at a time. It is one of the most effective ways to restore damaged doll hair or create a completely new look, whether you are rescuing a well-loved Barbie, returning a collector doll to her original glory, or building a custom character from scratch.
If you have ever picked up a doll with frizzy, sticky, thinning, or badly cut hair and wondered whether she could be saved, rerooting may be the solution. And although the process may seem intimidating at first, it becomes much easier when you understand the basic tools, materials, and steps.
This beginner-friendly guide walks you through those essentials from start to finish. It is based on the Doll Rerooting Guide, a 184-page ebook created by The Doll Guide in collaboration with Dollyhair, and every photo below comes from the real projects inside it.

Before and after: the same doll with its original factory hair, and after a full reroot with Dollyhair Saran hair.
What You Need
One of the best things about rerooting is how little you actually need to get started. A basic reroot can be completed with a short list of affordable tools:
- Doll hair in the fiber, color, and length your project need
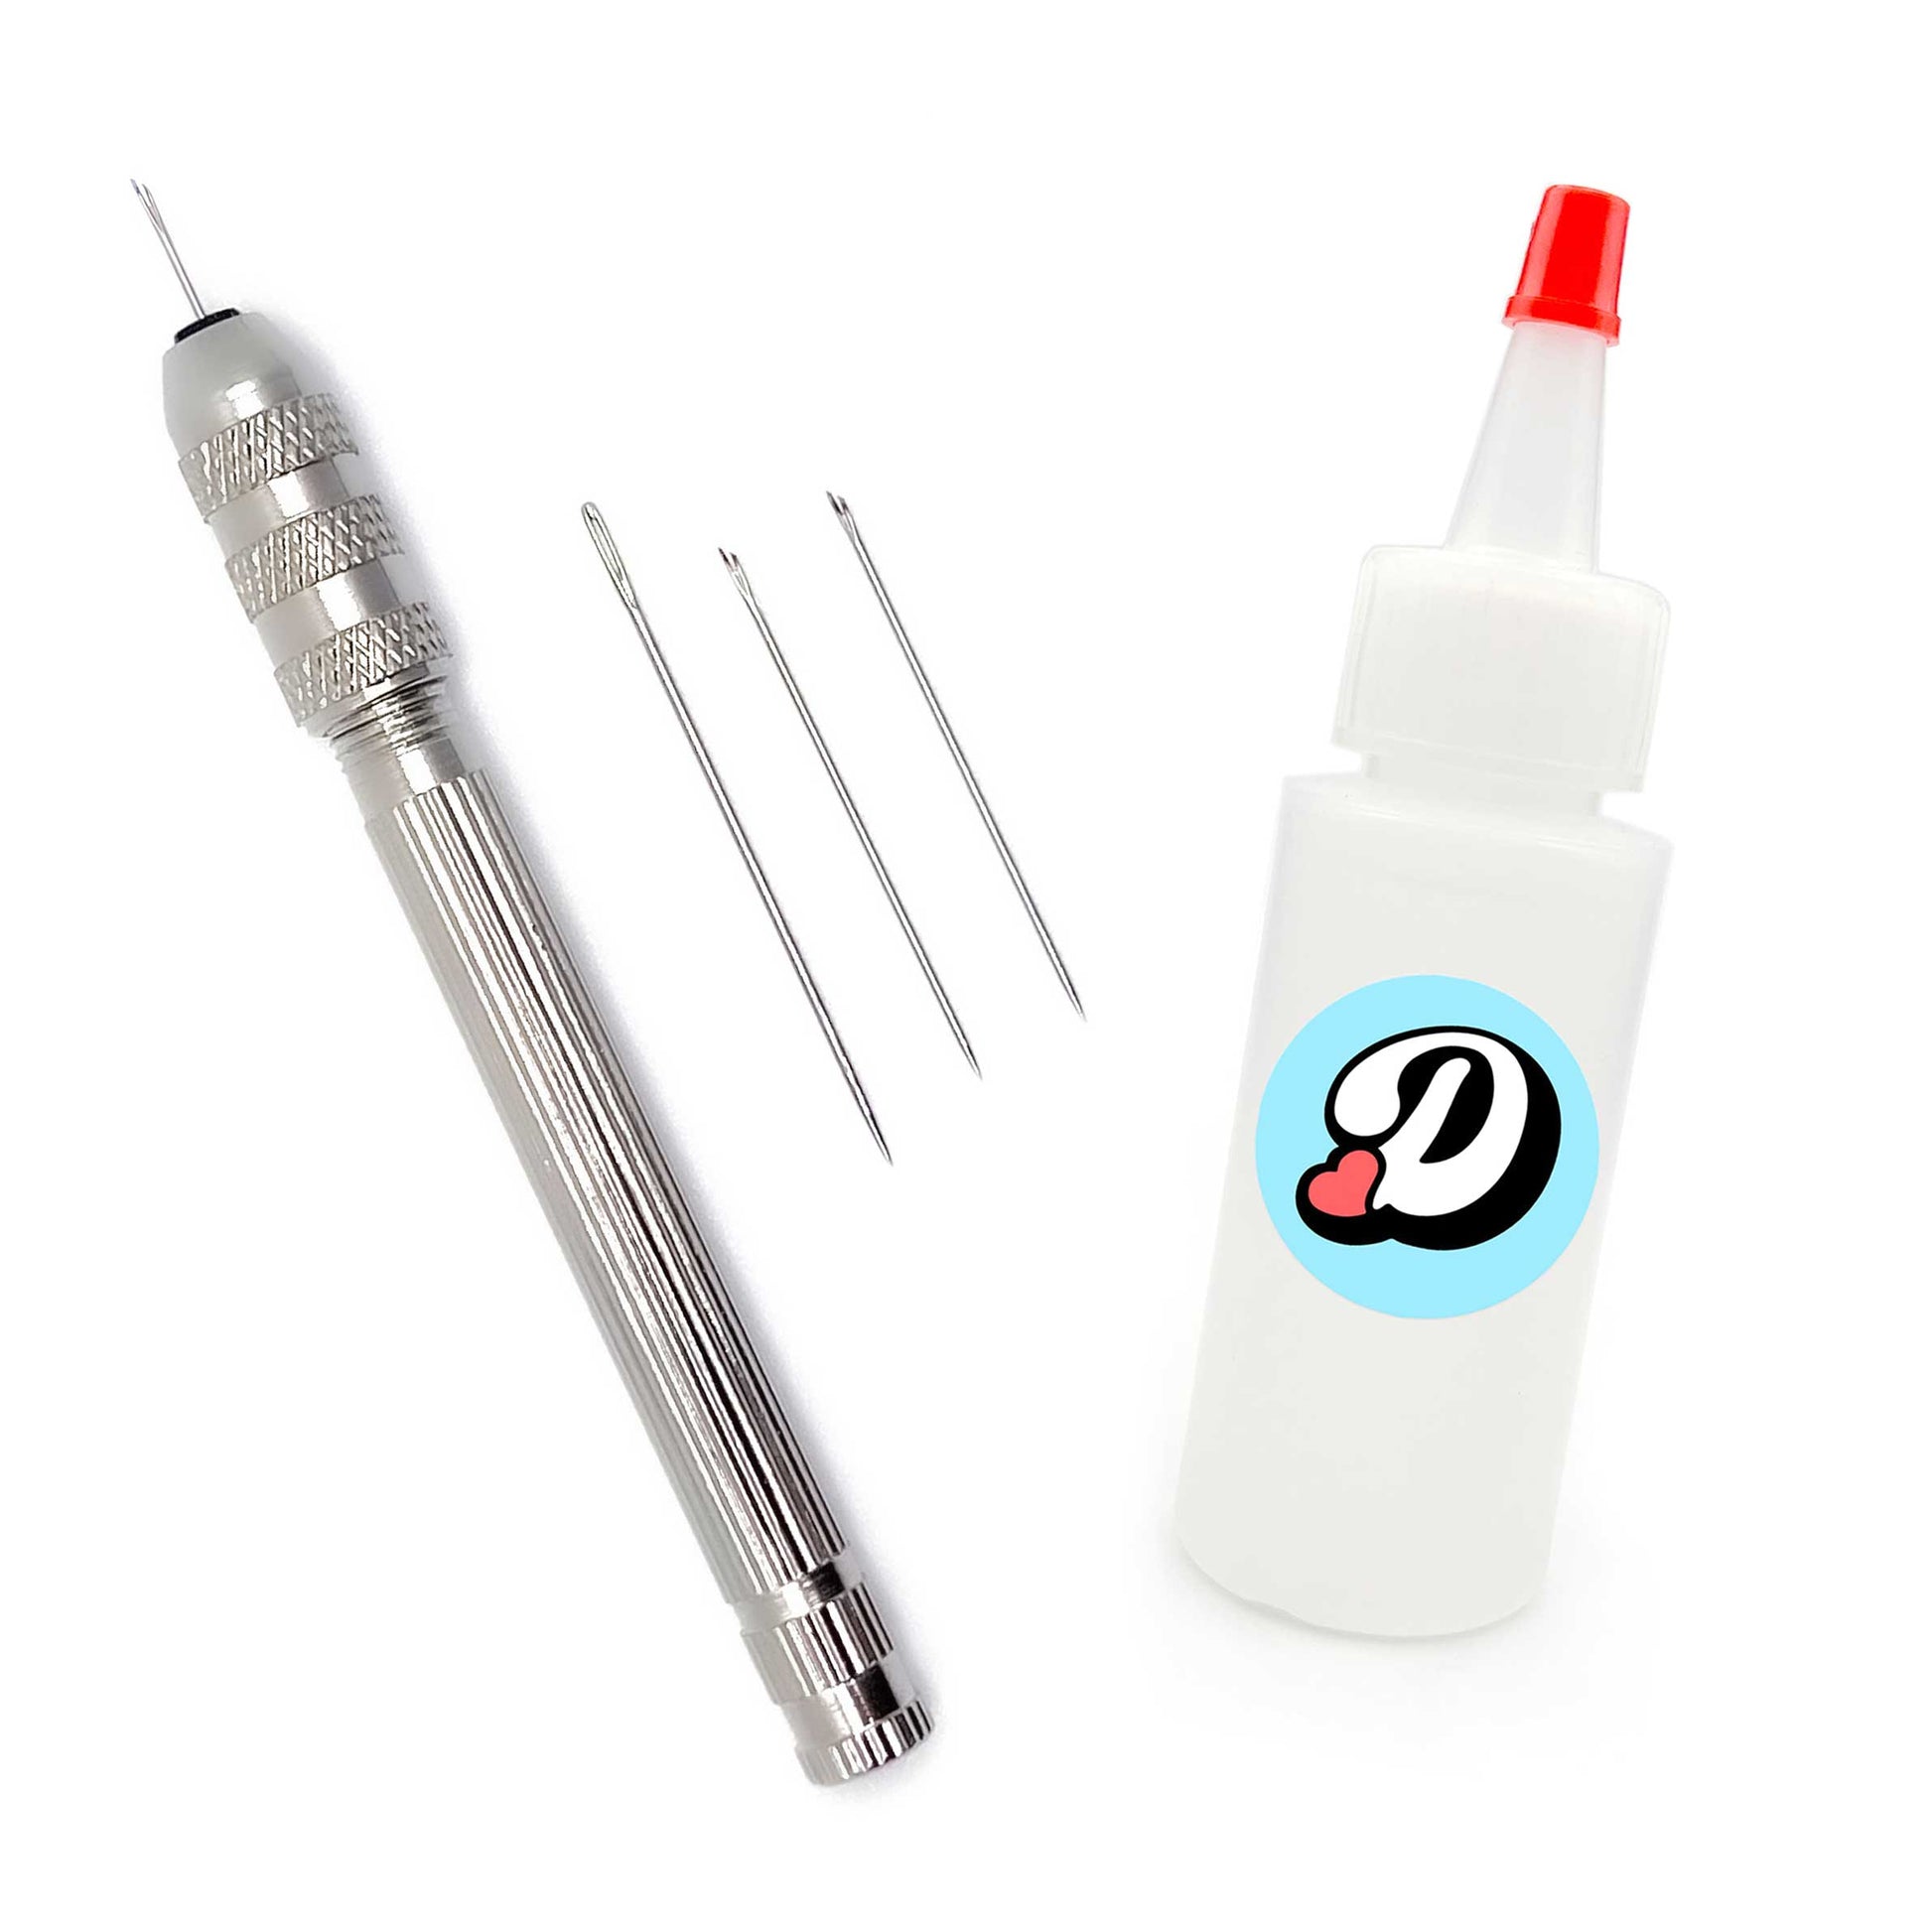
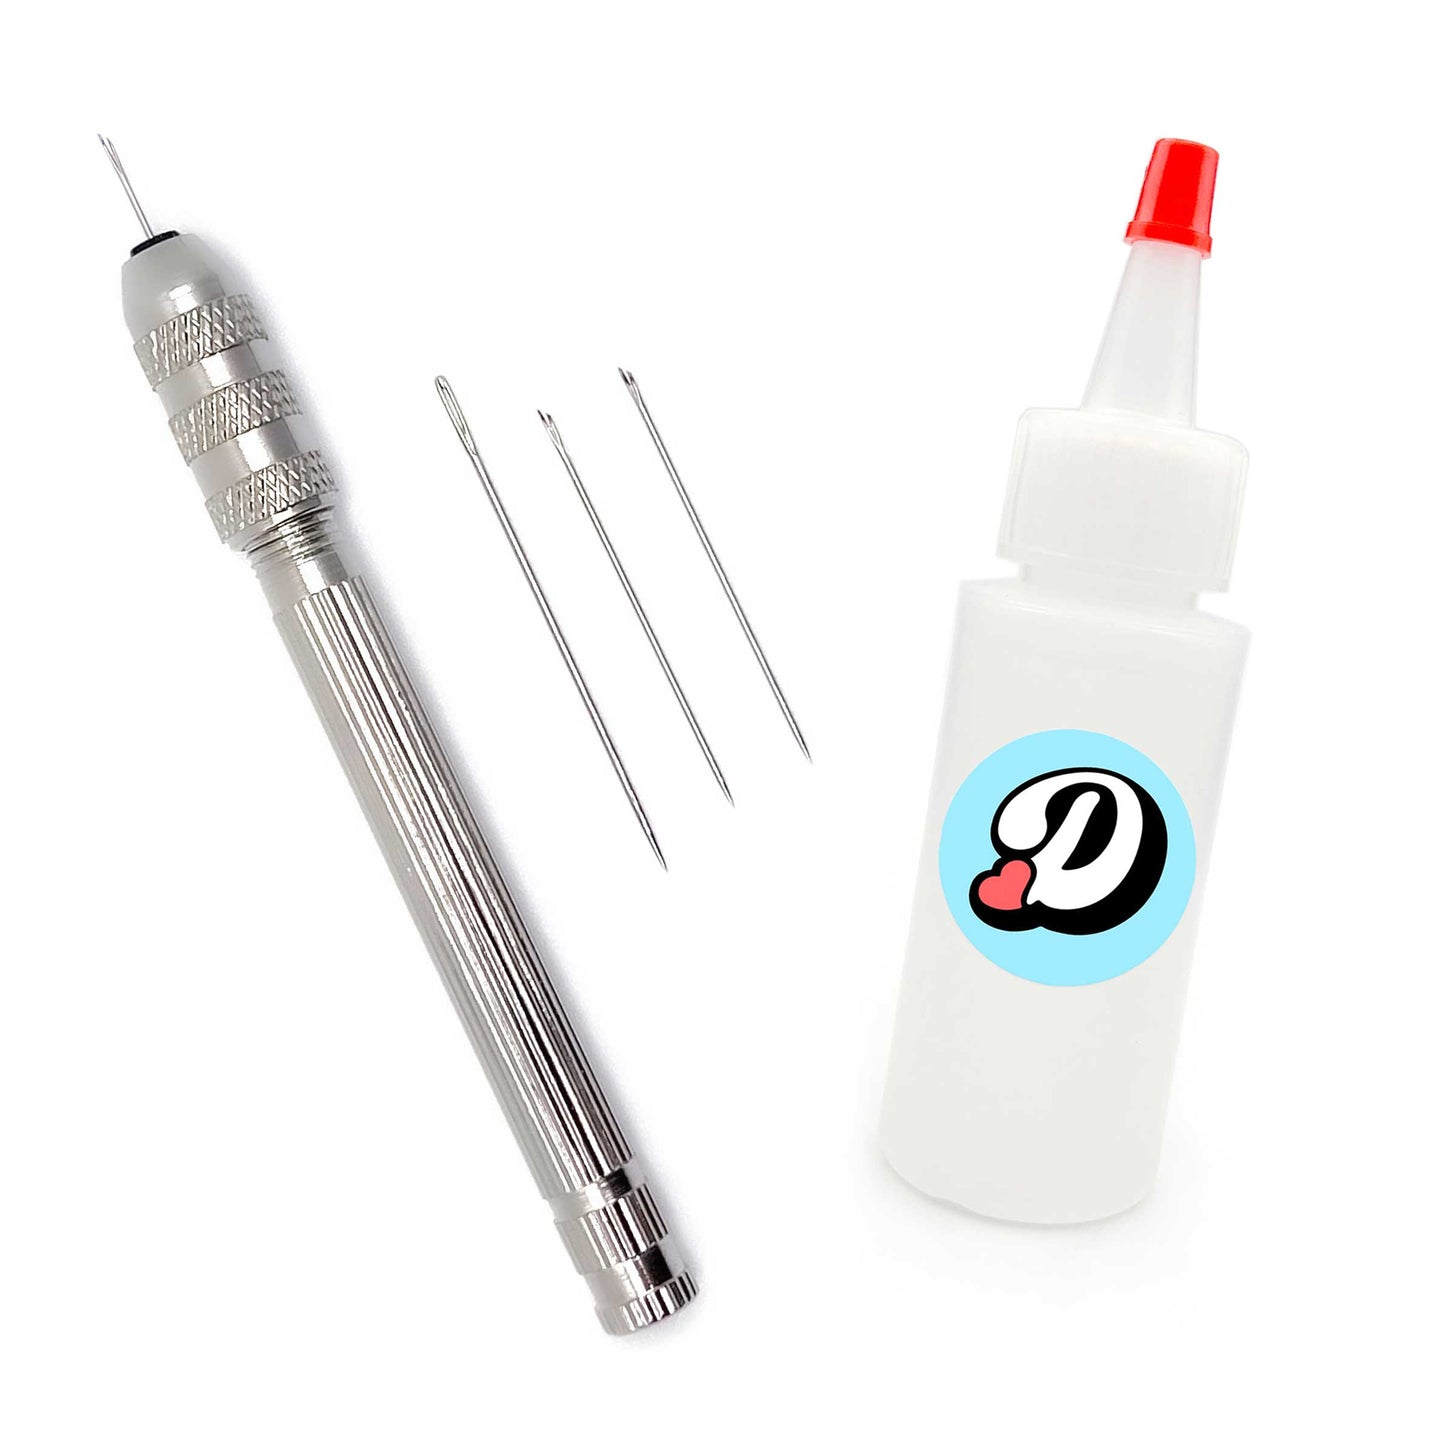
- A rerooting tool and suitable rerooting needles, plus a few spares, because needles can bend or break
- Tweezers or small pliers for pulling the old hair out of the head
- Sharp scissors for cutting the old hair and trimming the new style
- A comb and hair clips for smoothing and sectioning
- Fabri-tac glue if you use the reroot tool method
- A towel and a safe heat source, such as hot water, for softening vinyl and setting hair

Everything used for the reroot in this article: hair, rerooting tool and needles, glue, scissors, tweezers, comb, clips, and a towel.
Extras such as hemostats, a needle threader, a water spray bottle, or a flashlight are helpful, but you can add them later once you know rerooting is a hobby you enjoy. You will find rerooting tools, needles, and glue together with the hair at Dollyhair.
Choosing the Right Doll Hair
Doll hair fibers can look similar in photos, but they feel and behave very differently. Choosing the right fiber is the decision that most affects how your finished doll will look and style, so it is worth a moment of planning. These are the main types you will come across:
Nylon: soft, strong, and available in a huge range of colors. A versatile choice that curls well, making it ideal for fantasy colors, curls and waves, and vibrant custom looks.
Saran: silky, smooth, and slightly heavier, so it falls flat and sleek against the head. Excellent for restorations, natural shades, and polished collector styles.
Kanekalon: very fine, soft, and ultralight with an airy feel. Doll-grade Kanekalon responds beautifully to heat styling while keeping the head light.
Acetate: silky and lightweight with a graceful drape. Lovely for elegant, softly styled reroots; its delicate strands just need gentle handling.
Polypropylene: very lightweight but stiffer and more plastic-like than the others. It works for simple styles and practice projects, though it is harder to style neatly.
Beyond the classic straight fibers there is a whole world of curly hair, textured hair for locs, coils, and voluminous styles, and fantasy and specialty fibers, including color-changing and metallic options. These can transform a doll dramatically, but they need extra planning around density and styling, which the full guide covers in depth.

A selection of Dollyhair hair colors, from natural blondes and brunettes to bold fantasy colors.
How much hair do you need?
For a standard Barbie-sized head, one Dollyhair Barbie Long hank is usually a good starting point: it covers roughly 4–5 square inches and gives a finished length of about 9.5 inches (24 cm). Remember that each strand folds in half as it is rooted, so the finished length is about half the strand length. When in doubt, order a little extra for streaks, repairs, and trimming. See our Doll Hair Types and Hair Size Guide for details, or browse all hair colors here.
Choose Your Rerooting Method
There are two practical ways to secure new hair in a doll's head, and both can produce beautiful, durable results.

1. Reroot tool method (beginner favorite)
Small plugs of hair are pushed into the scalp with a rerooting tool. When the head is finished, glue is applied inside to lock every plug in place. Quick, practical, and the easiest to learn.

2. Knot method (glue-free).
Each plug is secured with its own tiny knot inside the head, tied with a doll needle or formed around a rerooting tool. Slower and more detailed, with each plug secured individually as it is placed.
For your first reroot, the reroot tool method is usually the easiest starting point: it is faster, simpler to learn, and works well for most fashion dolls. The steps below mainly follow that method. The full ebook teaches both methods through complete photo tutorials and a side-by-side comparison.
The Basic Rerooting Process
1. Remove the head safely
The golden rule of head removal: always warm the vinyl before you pull. Dip the head area into hot water for 60-90 seconds (with the doll protected in a plastic bag), or soften it gradually with a heating pad or careful blow dryer heat. Once the vinyl is warm and flexible, support the body with one hand and pull the head upward with slow, steady pressure. Never twist aggressively or yank; if the head resists, stop and rewarm. Warm vinyl stretches gently over the neck peg, and that peg is exactly what you do not want to snap.

Once the vinyl is warm, the head slides off the neck peg with gentle, steady pressure.
2. Cut and remove the original hair
With the head off, cut the old hair as short as possible on the outside. It does not need to look neat; you just want short stubble that is easy to pull from inside. Then look through the neck hole, grip the hair plugs with tweezers or small pliers, and pull them out section by section. If the factory glue is stubborn, rewarm the head so the vinyl and glue soften. When the little dots of stubble have disappeared from the scalp, the old hair is fully out.

Cut the hair short first, then pull the remaining plugs out through the neck hole.
3. Clean and inspect the scalp
Before any new hair goes in, remove all loose strands and as much old glue as practical; a flashlight pointed through the neck hole helps you spot leftovers. Then inspect the scalp from the outside. Are the original holes clear and evenly spaced? Are any holes stretched? Are there tiny splits or weak spots in the vinyl? Reusing the factory holes is the easiest route for a first reroot, and knowing about problem areas now lets you plan around them instead of discovering them mid-project.

A clean scalp with clearly visible factory holes is the perfect foundation for a reroot.
4. Prepare the new hair
Separate the hair into small, even plugs, which are the little sections that go into each hole. Work over a background that contrasts with the hair color: light hair on a dark surface, dark hair on a light one. The fine strands become far easier to see, separate, and keep tidy. If the fiber is slippery or full of static, a light mist of water calms it down. And remember: with the reroot tool method the hair folds around the rerooting needle, so every plug doubles in thickness once inserted. If it already looks thick before folding, it is too big.

A contrasting background makes fine strands visible: light hair on dark, dark hair on light.
5. Insert the new hair
Load a plug into the forked tip of the rerooting needle fitted in your rerooting tool and push it into a hole with steady, controlled pressure. Start with a few test plugs in a less visible area to check that your needle size, plug size, and technique feel right. The needle should slide in smoothly; if you have to force it, something needs to change: warm the head, use a smaller plug, or adjust your angle.
Work section by section rather than hopping around the head, and use your smallest, neatest plugs along the hairline and part line, since those areas are the most visible on the finished doll. Root the hair in the direction you want it to fall, and pause every few rows to smooth the hair down and check the balance from the front, sides, and top.

Small, even plugs inserted hole by hole slowly fill the scalp; check direction and density as you go.
6. Secure the hair
For the reroot tool method, first check the outside of the head for gaps or loose plugs while everything is still easy to fix. Then apply rerooting glue through the neck hole, spreading a thin, even layer over the roots inside the head. You want full coverage of the rooted area, not a head full of glue, and nothing leaking through the holes. Follow the glue manufacturer’s instructions and allow it to cure fully before washing or styling. Many rerooting glues need around 24 hours. For the knot method there is no glue to wait for; instead, gently tug-test plugs in different areas and redo any knot that slips.

Glue goes inside the head, coating the roots in a thin, even layer that never shows on the outside.
7. Wash, set, and style
Freshly rooted hair usually looks puffy and a little wild. Do not panic; it has not been finished yet. Once the glue is fully dry, give the hair a gentle first wash in lukewarm water, smoothing it downward with your fingers. If the fiber tolerates heat (Dollyhair's Nylon, Saran, Kanekalon, and Acetate generally do, but always check the guidance for your specific hair), a careful boil wash with hot water helps the hair lie flat and sets its direction beautifully. Arrange the part line while the hair is warm, hold it in place with clips as it cools, and let everything air dry completely. Only then trim the length, cutting less than you think you need. You can always cut more; you cannot put length back.
 Finishing in the right order: wash first, set the style, dry fully, and trim last.
This article covers the essentials. For detailed photographs of every step, method comparisons, troubleshooting help, and complete tutorials, explore the full Doll Rerooting Guide.
Five Common Beginner Mistakes
Almost every frustrating moment in a first reroot traces back to one of these five habits. Dodge them and you are most of the way to a clean result.
-
Using plugs that are too thick. Oversized plugs stretch the holes, can split the scalp, and make the hair look bulky. Small, even plugs always win. When in doubt, use less hair.
- Choosing the wrong needle size. A soft Barbie-type head usually suits a size 8 needle, while firmer heads like Monster High need a sturdier size 7. Use the smallest needle that works without bending; Dollyhair's Needle Size Guide lists suggestions by doll type.
- Forcing the needle through firm vinyl. Forcing breaks needles and damages scalps. If insertion feels hard, warm the head, reduce the plug size, or check your angle instead of pushing harder.
- Gluing before checking for gaps. Once glue is inside the head, adding missed plugs becomes much messier. Inspect the density, color placement, and hairline from every angle first.
- Trimming before the hair is fully washed, set, and dry. Hair changes length and shape as it settles. Cut too early and the final style ends up shorter and more uneven than planned.
Your First Reroot Does Not Need to Be Perfect
Work slowly, use small plugs, take breaks before your hands get tired, and treat each project as practice. Rerooting is a patient, hands-on craft, and every head you finish teaches you something new about hair, density, and styling. Even a slightly imperfect first reroot can completely transform a doll, and there is nothing quite like the moment she turns around with a full head of brand-new hair.